I’m not going to post a zillion pictures today. I’m tired, and I only took half a zillion pictures. I think I’ll just leave you with this one.
Professional photographers, if they are nice people, share their recipes for how to get certain shots. I’ve just been reading some of those recipes. Every shot requires a certain combination of shutter speed, aperture size, and ISO (or light sensitivity). Then there are things like lenses and filters and focal points and white balances and so on. What ingredients are you going to use? How long are you going to cook that picture? At what temperature?
I love reading these recipes, and I always get ideas from them, and when I’m serious about doing the job right, I follow them.
Often, though, I’m just fooling around to see what will happen. We never used recipes in my house growing up. We read a lot of cookbooks, but when we started cooking, we mostly just fooled around to see what would happen. Lots of times we used respectable ingredients to create meals from scratch, but lots of other times, we banged open a can of biscuits.
This photograph came from a can of bang biscuits. I don’t suppose that means there isn’t a recipe to share, though, so I’m going to tell you how I did this.
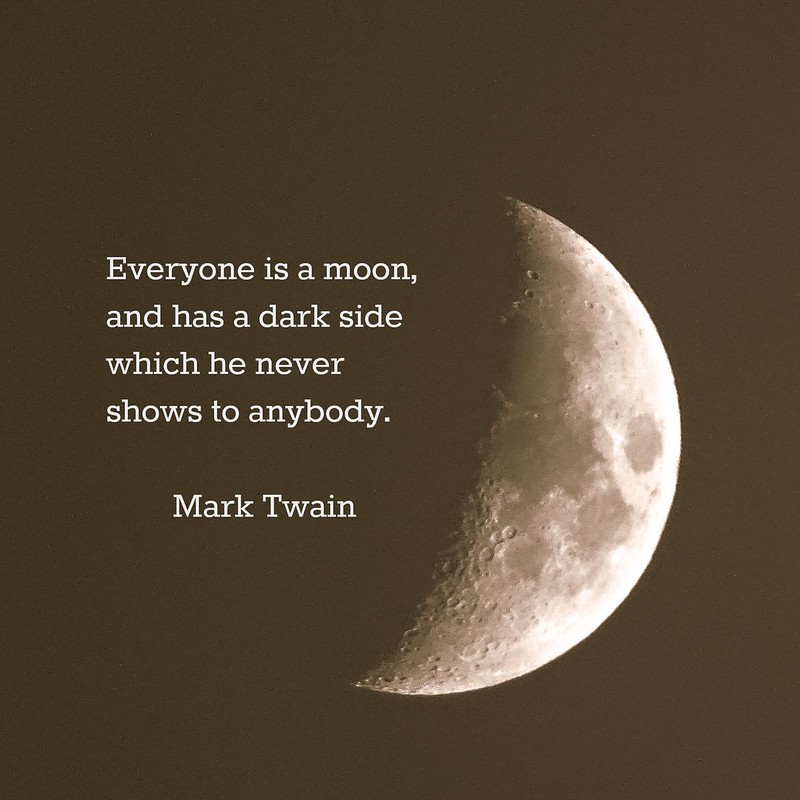
I took this shot handheld (look, Ma, no tripod) with a point-and-shoot camera. It’s a superzoom camera (a Sony HX400V), but it is still a point-and-shoot, meaning that it’s made to operate on fully automatic pretty much all of the time. It’s supposed to take nice looking pictures for people who don’t know or don’t have time to care where all of the camera settings are.
If you would like to take pictures of the moon that show some detail, and you want to do it handheld with a point-and-shoot, here’s one little trick you need to know. Take the photograph while it is still daylight. This one was shot in the daylight. That’s why it was able to pick up that much detail even though I only used the canned biscuits approach. The camera was on fully automatic, and it was not on a tripod. Not even big fancypants DSLR cameras can shoot the moon in any degree of detail under those circumstances after dark. If the moon is the only bright thing in the sky, it will be blown out in the photo so that you see no details in it whatsoever. There are recipes that will get you an awesomely detailed moon with real camera gear using manual settings and a tripod. But if you are too lazy or too pressed for time to go through all of that, or if you don’t have the gear, try to catch the moon sauntering out in late afternoon before the sun goes down.
So this one was taken in daylight, but it was very grainy and nothing to be particularly proud of, except for the fact that it did pick up some good detail. A DSLR with a fancy lens on a tripod, using settings recommended by a professional will get you much better than this. Homemade bread that you knead a couple of times and let rise for five hours will also taste better than a bang biscuit, but a bang biscuit will fill you up. You just have to put enough jelly on it to make it taste good.
I needed some jelly on my moon shot, so I uploaded it to a free photo editing site called PicMonkey, and I added the Daguerreotype effect, which turned the grainy blue background into a dark background, which was still grainy but dark enough so that the grain wasn’t so obvious. I liked that effect, but it looked odd to have a moon in a dark background with no stars in the sky. I was way too lazy to attempt to make that look natural, so I just slapped a quote about the moon onto it, so it would look like I meant to have a starless sky all along.
And there you have it.
I hope that I use my photo project this year as an opportunity to teach myself new camera skills, but I also hope that I just enjoy doing it. My little moon shot won’t win any awards, but I did have fun creating it. Also, I happen to like the occasional bang biscuit.
